Thursday, December 8, 2011

8. door: Deer cheer


I see them everywhere this Christmas. It seems deers are the latest trend in Christmas deco. So how could I resist then...

Wednesday, December 7, 2011

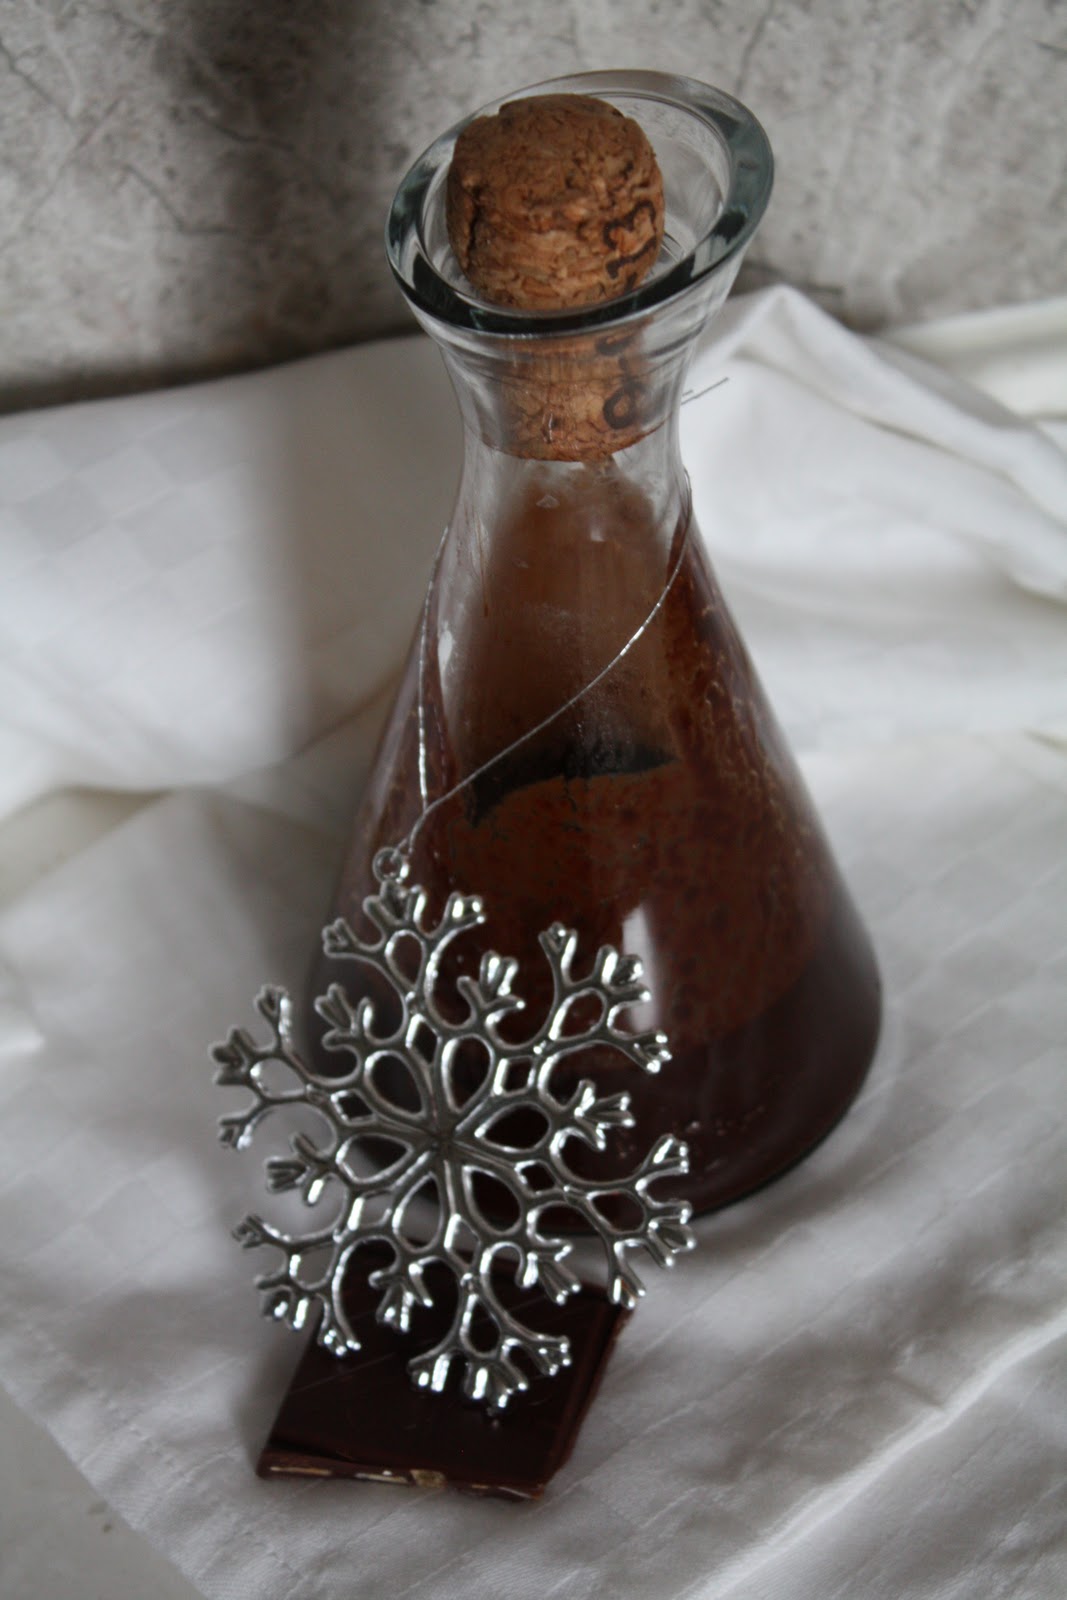
7. door: Chocolate infused balsamic vinegar


This is a fantastic vinegar for green salads (aragula, mixed, spinach etc.). But you can also use it to spice up your meats.

You need:
100 ml balsamic vinegar
50 g dark chocolate

Put the vinegar in a sauce pan and gently heat it up. Melt the chocolate in the vinegar and mix well. Pour into a nice bottle or use immediately. Yummy!

Tuesday, December 6, 2011

6. door: St Nicholas is coming to town


When I was a small kid in Germany we used to have a parade with lanterns for St Nicholas and at the end we were given little 'Stutenkerle' made of a kind of bread dough. So now I am a mum myself and I tried to continue with this tradition. So I made these little 'Stutenkerle' for my family (and half a forest too). I also made a paper lantern for the table. It's just a paper sandwich bag which I cut little holes and stars into. Then I placed a glass with a tealight inside.


Here is the recipe for the 'Stutenkerle':

For the dough (makes 4 big santa men or a dozen smaller ones):

500 g  plain white flour
7 g dried yeast
75 g  Granulated white sugar
1 teaspoon salt
1 egg (medium size)
1 egg white
150 ml  milk
100 g  butter

For the decoration:
raisins and white (peeled) almonds
2 tablespoons milk
1 egg yolk

Mix the flour with the yeast then add all the other ingredients (room temperature). Mix thoroughly. Then let the dough rest in a warm environment until it has doubled in size.
Mix the egg yolk with the milk and spread it evenly on  the little men. Let the men rest for 20 more minutes and meanwhile start preheating the oven at 160 degrees. Bake for 20 min.

Monday, December 5, 2011

5. door: Cantuccini cookies


I love Cantuccini cookies and the day I found this recipe was a very happy one! They are actually really easy to make and the taste is even better than the shop version. You can enjoy them year round but I also like them for Christmas very much!

Here the link to the recipe: Cantuccini Cookies Recipe

Sunday, December 4, 2011

4. door: Roses and Rochers


This Christmas deco uses pink roses and an etagere decorated with a tealight in an espresso cup and Ferrero Rocher chocolates combined with physalis fruits. I like the golden and orange shades. The white of the etagere just adds the necessary simplicity so it won't look overladen. The pine cone and the little deer add a little forest cheer.

Saturday, December 3, 2011

3. door: White Christmas


For all of you who love it pure white! This Christmas deco is made of antique style silver baubles hung with felt ribbon and white babushkas decorated with paper stars (of course also in white). The scented candle is from M&S.

Friday, December 2, 2011

2. door: IKEA makes my Christmas


I must admit I love IKEA for it's affordable western products. To be more precise some of the stuff cannot be found anywhere else in Hong Kong like the Gloegg which also comes in an alcohol-free version (very welcome when you are pregnant like me)! I think I will use the tin bucket for the Christmas tree. And you can also order real Christmas trees from IKEA, isn't that great!

Thursday, December 1, 2011

1. door: Drying orange slices for deco


Today is 1. December! So it's time for a Christmas countdown. Over the next 24 days I will post little deco surprises for you.

Today's little surprise is a very simple DIY project for your Christmas decorations. Cut one or two oranges into thin slices and spread them onto a sheet of baking paper. Let them dry over night and then turn onto the other side. In the evening turn them back again and continue with that procedure over the next few days until the orange slices are completely dry. They turn out best in a warm and dry environment, so put them close to the heating e.g. on the window sill. You can of course also use thread and hang them on a rope for drying. I love how bright the colours remain if you dry them by yourself. Shops mostly provide darker ones.

Sunday, November 27, 2011

First Advent


Happy first Advent to you all!

Saturday, November 26, 2011

Advent calendar


With the 1. December approaching quickly I am busy finishing my home-sewn Advent calendar.
I made this one for my parents. It's actually a relatively simple design. The ugliest part were the numbers which I tried to stitch with my machine. But they didn't really turn out very nicely. Maybe it would have been better to just draw them onto the fabric with a fabric marker or handstitch them.

Here are the steps how I made it:


1. Cut 2 rectangular pieces of fabric for the background (65X80 cm), cut 4 pieces of rectangular fabric for the pockets (22X52 cm), cut 4 pieces of ribbon in red (52 cm) and 1 piece of green ribbon (65 cm) plus 3 pieces of green ribbon (40 cm), cut 2 trees (16x16 cm) and 2 red ribbons for the tree decoration (16 cm), at last cut two hearts out of felt and 1 piece of red ribbon (24 cm); fold the 4 rectangles for the pockets in the middle facing inside out and iron, then sew the ribbon onto them approx 1 cm from the middle fold using red thread, then close the seams all around except one small gap for turning the inside out using white thread, stitch or paint numbers on the pockets using red thread/paint

2. Sew the ribbon onto the trees using red thread

3. Sew the green ribbon onto the background using green thread approx 5 cm from the top, then sew the first row of pockets onto the background using red thread approx 8 cm underneath the green ribbon using red thread, stitch the actual pockets vertically

4. Continue with the other three rows of pockets leaving 8 cm gaps in between the rows

5-7. Applique the trees onto the pockets/background as shown in the photo

8. Cut a rectangular piece of padding in the same size as the background and iron on

9. Stitch the two background pieces together using white thread and integrate the three green hangers in the top seam (one in the middle and the other two at 8 cm from the side), turn inside out and stitch the seams at 1 cm from the edge, sew the two felt hearts together integrating the hande in the seam and handsew onto the calendar whereever you like it

Now all you have to do is find a nice stick  and fill the pockets with little presents! Happy Advent!


My mother in law made this one for our daughter. It was a massive project with lots of hand stitching involved but the result is truely an eye-catcher! But the work was worth it as we can use the calendars for years now.
Related Posts with Thumbnails